


The Beginner’s Guide to Print-Ready File Preparation
Ever felt a little lost when trying to print a project you’ve poured your heart into? You’re not alone. Turning a digital file into a beautiful print piece involves a few key details, but don’t worry, you’ve got this—and we’re here to guide you through it!
Creating a print-ready file is all about paying attention to the small details that ensure your document looks just as sharp and vibrant on paper as it does on your screen. Understanding the benefits of creating a print-ready file can save you time, reduce errors, and ensure your final product meets your expectations.
What is a Print-Ready File?
A print-ready file means exactly what the name suggests: a file that is ready for printing. This is a digital file that needs no alterations for your printer to get started with your project. Your printer will let you know of any corrections that need to be made once they receive the file.
As a beginner, you might be thinking “how do I know what that entails?” A print ready file will pay attention to these things: File size, bleed, high-resolution, and color.
Printing Terms Explained
Before we cover the specifics, let’s clarify what these terms mean:
Bleed: An area extending past the edge of your document that allows for printing to the edge of a page after trimming. Your project is printed on an oversized sheet that is cut down to size with the appearance that the image is “bleeding” off the edge of the paper. This makes it so there are no white borders around your design.
Resolution: Refers to the detail an image holds, which is often measured in DPI.
DPI: This stands for Dots Per Inch. This measures the resolution of an image’s output. The higher the DPI, the more detailed the image will be.
CMYK: This stands for Cyan, Magenta, Yellow, Key (black). This color model is used in color printing, unlike RGB, which is used for digital displays. Understanding CMYK is important to ensure your prints are consistent with your designs.
Bleed
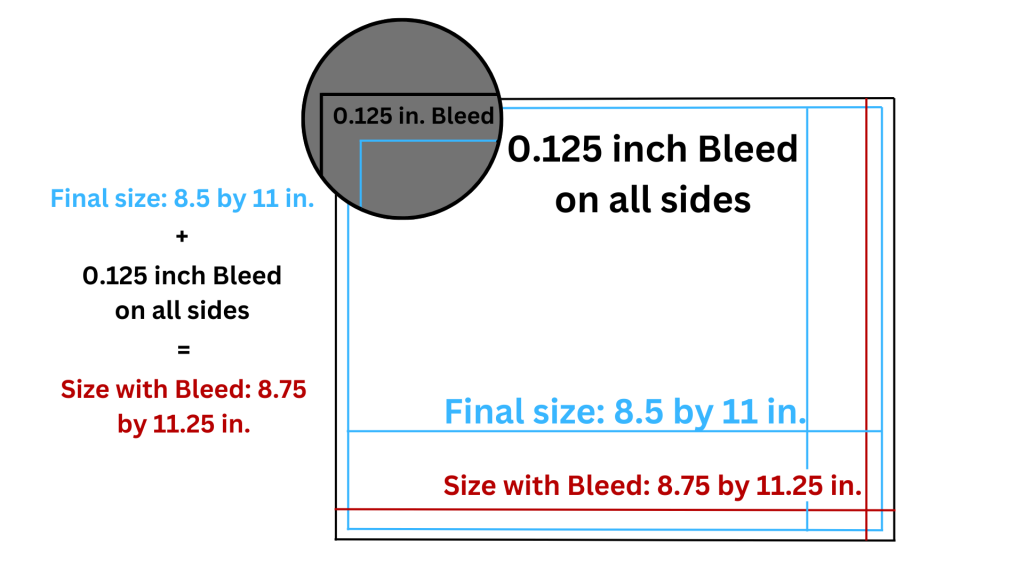
Most printers need bleed in the file provided to them. Research this with your printer beforehand.
Bleed is an additional 1/8 inch or 0.125 on all sides. Most programs typically offer an export option with bleed included in your file size.
If your program does not offer this, you will need to add 0.25 to your file size. This will be your project size + 0.25
It is important to note, to not include any important content within this area so it doesn’t get cut off!
Resolution
Image resolution can turn your project from crisp to dull. It is recommended that your images are 300 DPI to ensure they are at maximum quality. This isn’t always possible. We find that anything around 150 DPI can still turn out great. Anything below this is not recommended, as they can turn out pixelated and fuzzy which won’t look the best. In case you miss one, most printers will notify you of any low resolution images during the proofing process.
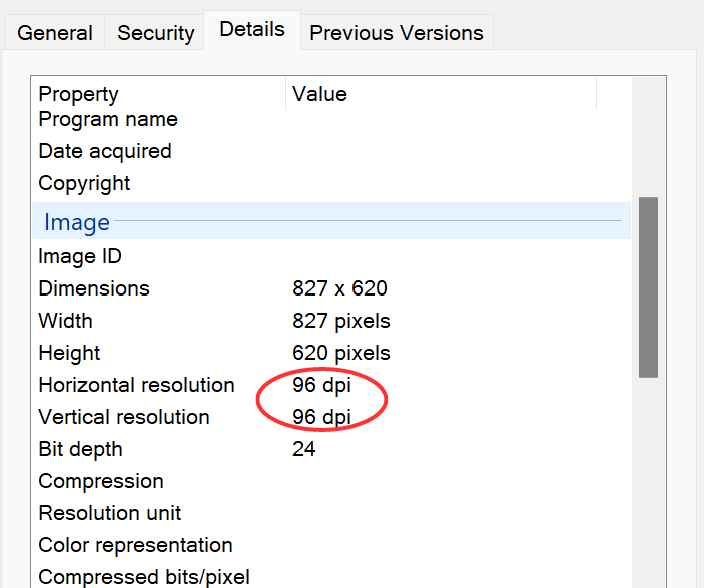
How do I find an image’s DPI?
- Go to your file explorer
- Right-click on your image
- Click show more options
- Go to properties
- Go to details
- From there, you will be able to find the image size as well as the DPI
Color
Color is crucial if you want your prints to accurately represent your work. Different devices and programs often interpret colors differently, which can lead to discrepancies between what you see on your screen and what appears in print.
RGB coloring is often a lot more vibrant since it is produced by light and not ink. Not everything can be accurately reproduced and can shift when converted. To ensure the best print quality and maintain consistency across your printed materials, convert your images from RGB to CMYK beforehand.
Printers often provide specific ICC color profiles for optimal color management. ICC color profiles contain data that calibrates color output for a specific device, which helps achieve accurate color reproduction
PrintingCenterUSA uses the color profile GRACoL2013_CRPC6.icc. You can download this here.
It is important to note that color accuracy will never be 100%, however doing these steps will help you achieve the best reproduction.
File Type
For the best quality in printed materials, saving your file as a PDF is highly recommended. PDFs are ideal for printing because they maintain the important elements of your design—ensuring that fonts, images, and layouts appear exactly as intended across all devices and printing systems.
Most design software offer the option to export your project directly as a PDF.
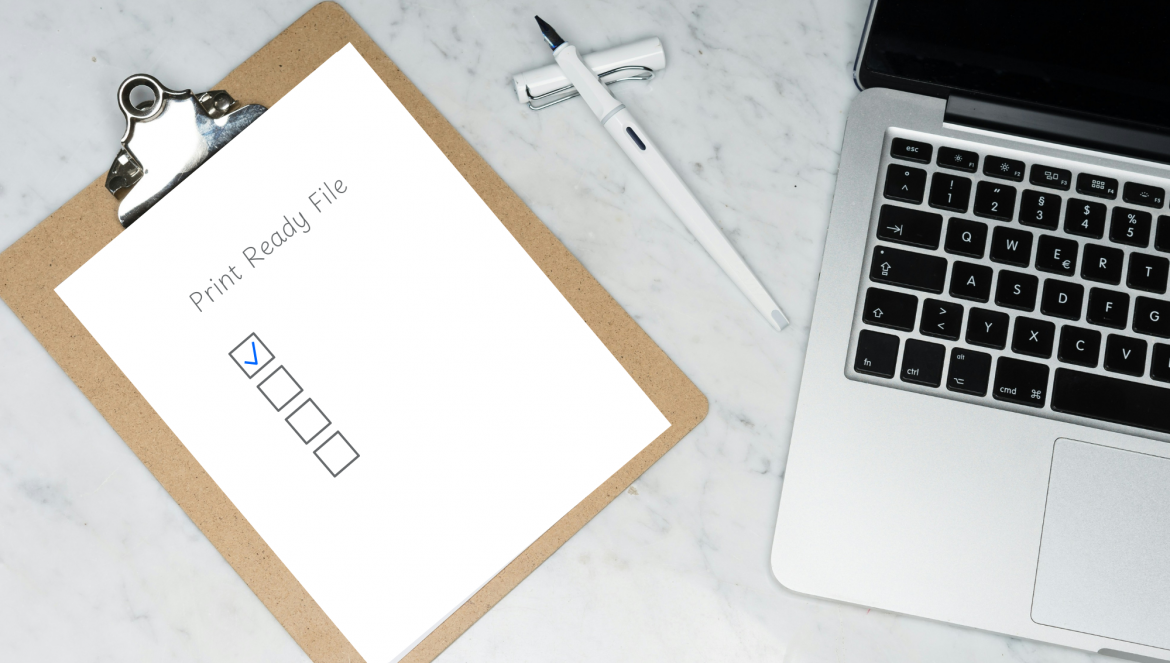
Proofing
Before sending your file to the printer, make sure to proofread and review every element of your design carefully. This includes checking for spelling errors, ensuring all images and graphics are correctly placed, and verifying that colors and fonts are consistent throughout.
Many design programs offer proofing tools to help you catch potential issues before printing. Taking the time to thoroughly review your file can save you from costly mistakes and reprints. All commercial printers want to make sure your prints come out exactly as you envision. But you can’t catch all mistakes. This is why most printers have a proofing process.
This can be in the form of a electronic file or hardcopy but, allows you to see your file one more time before starting production on your prints.
- Electronic proof: A file that shows your document with the bleed, trim, and safety zones.
- Hardcopy Proof: One bounded printed copy of your book sent to you at an additional cost. This allows you to review everything in person. This is high recommended for any color sensitive designs.
At PrintingCenterUSA, we offer a free file review that includes a 43-point inspection and an instant proof preview
This allows you to check your files before you place you order to ensure they are print-ready!
Design Program Options
When it comes to getting your document ready for printing, the software you use can make a big difference. Programs like Adobe InDesign, Illustrator, and Photoshop are fantastic because they offer tools specifically for print projects. These tools let you easily set up bleeds, switch your colors to CMYK, and embed fonts, so everything looks just right when printed.
However, there is a huge learning curve and the price is hefty. Even simpler programs like Microsoft Word, Publisher, and Canva will work, though you might need to take a few extra steps to ensure everything’s perfect.
PrintingCenterUSA also offers a design tool directly through our site. To get started, go to the product of your choosing, scroll down to product resources and click start your design. It’s that simple!
It is important to note that there are limitations to what you can do in these four programs. The key is making sure your software lets you export your project as a PDF and that the size of your file is correct. Youtube is your friend. Let this be your biggest resource if you are not sure how to do something in a specific program.
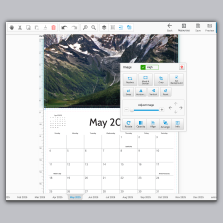
Templates
Nothing beats having a tool that takes care of 50% of the work for you. At PrintingCenterUSA, we offer free downloadable PDF templates.
Simply input your project details into our instant quote tool, and click ‘Get your Free PDF Template.’
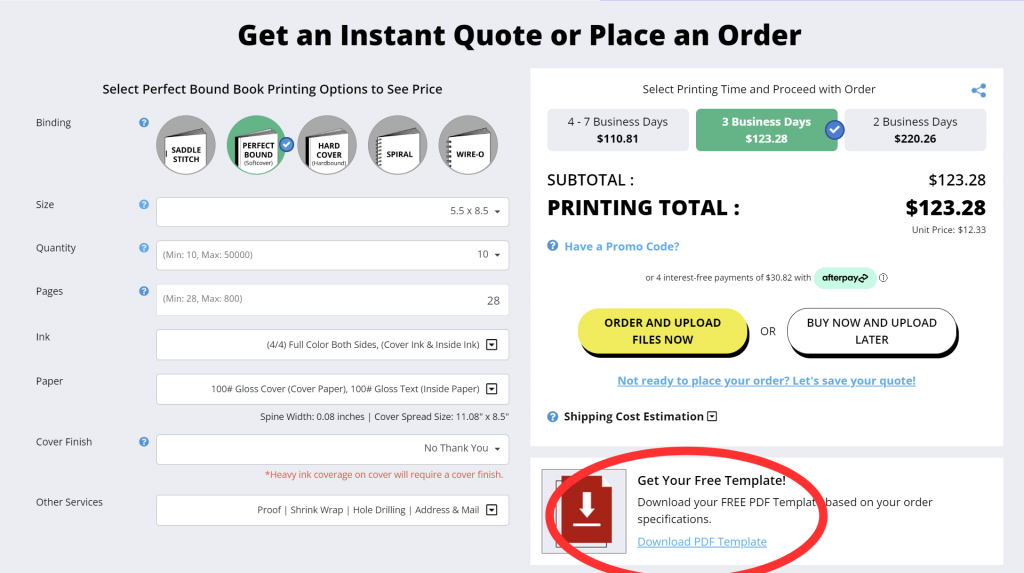
These templates are designed to make your life easier by providing a pre-set structure that you can customize to fit your project needs.
By using our templates, you can ensure that all critical elements like bleed, margins, and safe zones are already accounted for, saving you time and reducing the risk of errors
Bringing It All Together
Creating a print-ready file might feel overwhelming, but by focusing on key details like bleed, resolution, and color, you can ensure your digital designs translate beautifully to print. Remember, the right preparation makes all the difference in achieving high-quality prints.
Visit PrintingCenterUSA for access to our helpful resources. If you need assistance, our team is ready to help you every step of the way.
Let’s bring your project to life!